Skip to content

So, you need to cut some metal. Maybe you’re fitting some joints together on your latest welding project. Or that piece of sheet metal is just a few inches too long. No matter the reason, welding often involves making cuts into metal. And that’s something you can’t do with kitchen scissors!
What Kind of Cutting Should You Use?
There’s a ton of great ways out there to create quick, clean cuts through metal. Some of the most popular in the welding world are plasma cutting and oxy acetylene cutting.

Both types of cutting have their uses. Oxy acetylene cutting—aka, oxy fuel cutting—is the most standard type. It’s cheaper and more versatile than plasma cutting—plus it can make deeper cuts. However, it’s not as precise, and can get a little messy. Plasma cutting is more expensive to do, but is great for materials that oxy acetylene cutting struggles with.
What Is Oxy Acetylene Cutting?
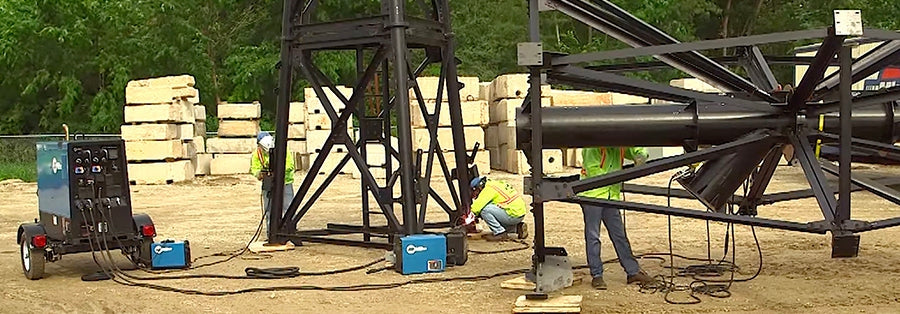
Oxy acetylene cutting is one of the most cost-effective and portable ways to cut metal. It uses a combination of fuel (that’s the acetylene) and oxygen (that’s the oxy) to create a stream of high-pressured, super-hot air. It’s like a power washer, if it was using really hot air instead of water—and if it would break your driveway instead of washing it. This stream of pressurized and heated air is powerful enough to cut through metal.
Because oxy fuel cutting supplies its own fuel, it doesn’t need a power source or electricity to run. This means you’re not tied to an outlet—or to the length of a power cord! Having this versatility is great for a welder who wants to move easily around the workshop or weld out in the field.
Pre-Cut Prep
Get Your Equipment
If you’ve never done oxy fuel cutting before, the first step is to get all the equipment you’ll need. In big terms, that’s an oxy acetylene torch, a cylinder of oxygen, and a cylinder of acetylene. Make sure you’ve got the correct regulators, hoses, and tips, too. These will vary based on your torch, so check out its manual for the exact equipment you’ll need.
When picking a tip, figure out how thick the metal you’re cutting is, and get a tip that’s designed to cut that thickness. That’ll give you the best control over the oxy fuel cutting.
Safety First
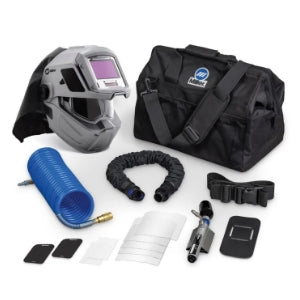
Don’t skimp on your safety. You’re the most important thing in the workshop—not the oxy fuel cutter or your latest project. Before you jump into oxy fuel cutting, make sure you’ve got the proper safety set-up.
Before you begin, you’ll need good face and body protection! Be sure to double-check all your cutting equipment before you start going—especially if it’s been a while since it’s been used. Clean off any dust or gunk that might be on your equipment. Check your cylinders, regulators and hoses to make sure everything’s in working order. It’s better to take something in for repairs than to have problems because of faulty equipment.

Take a second look at your work area, too. Because oxy acetylene cutting involves flames, that means fire hazards. So, keep a fire extinguisher nearby, and make sure anything flammable is well out of the way. Also, be sure you’ve got decent ventilation! You’re working with gases— that’s an effortless way to knock yourself out if you don’t have a good airflow.
Getting Started
Now that you’ve got all your equipment, you’re almost ready to start oxy acetylene cutting. Read the instruction manuals as you set up your equipment—sure, it’s a little annoying, but it’s the best way to avoid problems down the line.
Be gentle as you get set up, especially with the acetylene and oxygen gas containers. Remember: these are high-pressure containers that can be dangerous if they’re not handled right. Check them for leaks before you open them; and when you do open the containers, open them slowly. It’s always better to be safe than sorry—especially with stuff like this!

Practice Makes Perfect
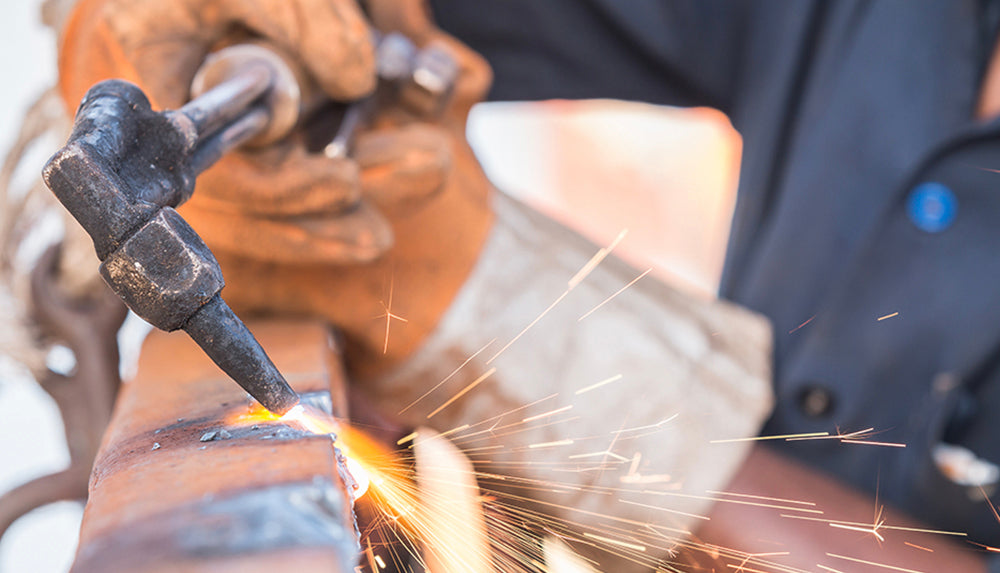
Before you jump into cutting metal for your project, do a few test cuts on some scrap metal. This lets you get out first-time jitters on some material you don’t care about. It also helps you perfect your oxy fuel technique so your final cuts are as clean as can be.
As far as cutting technique goes, most welders recommend using a “rolling” technique as you cut into the metal. It’s almost like using a dull pizza cutter, one where you must cut the crust a few times before it goes through! “Roll” the torch forward into the metal, then “roll” it back out, cutting the same part of the metal both times. Try out this technique in your practice—then give it a go on your latest project!