 Skip to content

Stainless steel sounds like the world’s greatest weld metal, but the more you weld it, the more it quickly becomes a living nightmare. While many welders can weld stainless steel, they often end up destroying its stainless characteristics. But it doesn't have to be this way. Stainless steel can be as easy to weld as mild steel if you know the right tricks and utilize the proper welding technology for your job.
Stainless steel gets rid of one of metal’s main weaknesses: rust. Adding chromium to the mix creates material stronger than plain steel, which doesn't stain or rust. Unlike galvanized steel, which is coated in a protective layer, stainless steel keeps its rust-preventing properties even if its surface becomes scratched.
Identifying Stainless Steel
A brand-new piece of mild steel can be as shiny as stainless, making it difficult to know which is which. Before beginning the welding process with stainless steel, you’ll need to be sure you’ve actually got stainless steel.
There are endless ways to identify what type of material you're working with, such as a spark test. However, when determining if a material is stainless, the easiest solution is to simply place a magnet on the material. Most types of stainless will not stick to the magnet.
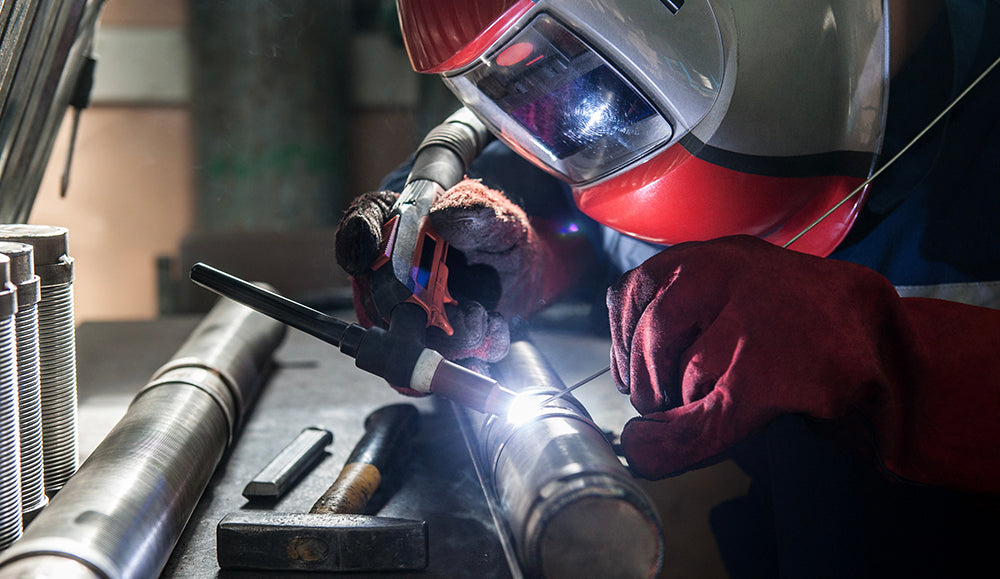
WELDING STAINLESS STEEL TIPS AND TRICKS
We often treat stainless steel as one type of steel. However, stainless steel is really made up of four main types.
THE FOUR MAIN TYPES OF STAINLESS STEEL INCLUDE:
- Austenitic: The most popular type of stainless steel, austenitic also tends to be the most expensive. Compared to other types of stainless steel, austenitic stainless steel is high in nickel content, in addition to chromium, nitrogen, and molybdenum. This type of steel is well-known for its malleability and is commonly used for kitchen cutlery and storage components.
- Ferritic: This type of stainless steel is primarily made of chromium with low amounts of carbon. Ferritic stainless steel is magnetic and is renowned for its resistance to stress corrosion cracking. It’s commonly used for car components, kitchen cookware, and industrial jobs.
- Duplex: This stainless steel consists of combinations of ferritic and austenitic steel. It tends to be less expensive than pure austenitic steel and is often used in the underwater oil and drilling industry because it stands up well against the potential corrosion caused by saltwater.
- Martensitic: At a structural level, this steel is very similar to ferritic stainless steel, just with a higher percentage of carbon. This difference in carbon levels allows for martensitic steel to be hardened to great extents. This steel is often used in valves or pumps.
The majority of stainless steel used for welding is austenitic because it tends to be the easiest for welders to work with.
Despite its popularity, austenitic stainless steel is by no means the perfect solution for everything. Ferritic stainless steel can often be cheaper, making it a tempting choice when already considering the cost of stainless vs. mild steel. Martensitic stainless steel can also be welded, though it’s a little trickier to work with.
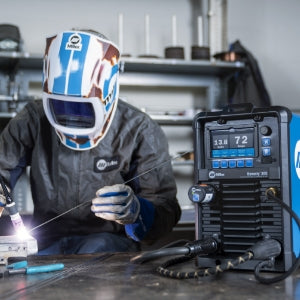
HOW TO CHOOSE THE RIGHT WELDING MACHINE AND FILLER MATERIAL FOR STAINLESS STEEL
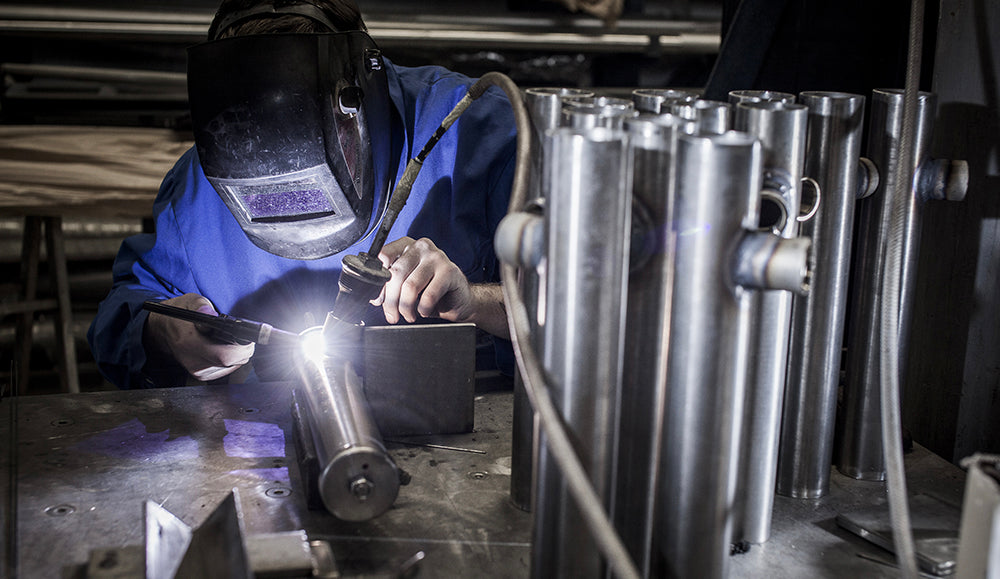
For each of the main welding processes, stainless steel welding is handled differently. We’ll take you through some pro tips for Stick, MIG, and TIG welding.
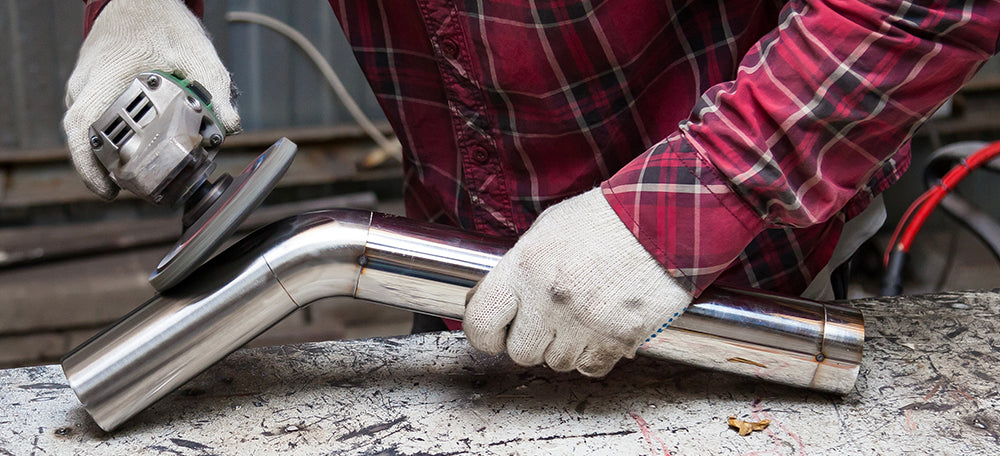
Stick Welding: For successful stick welding of stainless steel, selecting the right electrode is crucial. The commonly used 304 stainless steel pairs well with 308L electrodes. Once you've chosen the electrode, consult Miller or Lincoln's free welding apps to determine the ideal amperage. Use a J-shaped motion to prevent excessive rod heating and crowning, and always clean off excess slag with a chipping hammer and wire brush.
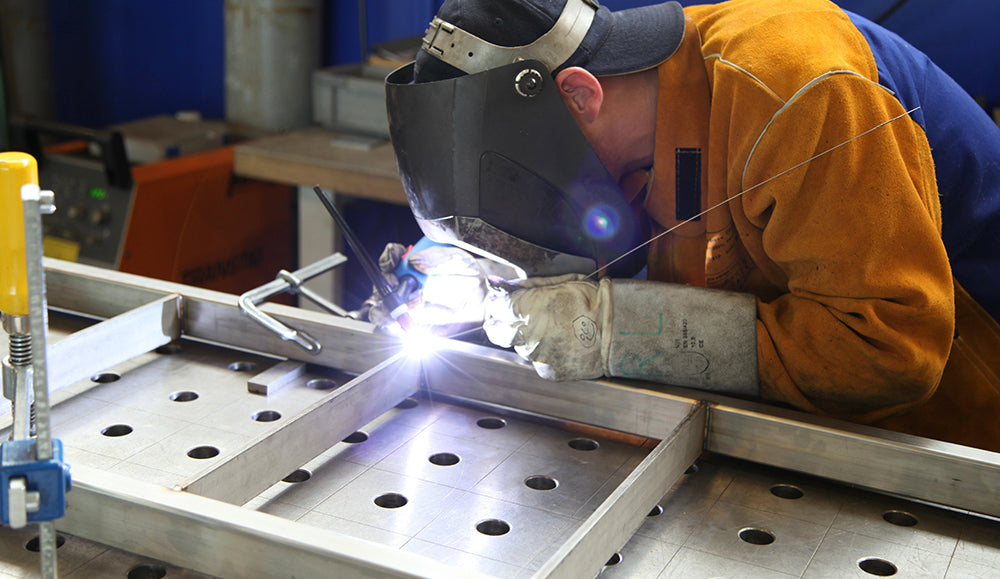
MIG Welding: Similar to stick welding, finding the right settings and parameters is essential for MIG welding stainless steel. Optimal shielding gas blends include a tri-mixture (90% Argon, 7.5% Helium, 2.5% Oxygen) or a mix of Argon with either CO2 or Oxygen. Effective heat control is crucial due to stainless steel's higher amperage requirements and reduced heat dissipation, so employ strategies to keep your workpiece from overheating.
TIG Welding: The key to successful TIG welding of stainless steel is to protect the weld from oxidation. This involves ensuring proper gas coverage not just on the front but also on the back of the weld using purging gas. This prevents chromium oxide formation, which compromises weld quality. Across all welding types, half of all issues stem from incorrect settings, so consider using an auto-set welding machine for consistency.
HEAT MANAGEMENT
For most welders, getting a good fusion between stainless pieces isn’t necessarily the hardest part. The hard part is doing so without ruining the material’s stainless properties. This is because heat can mess with the structure of stainless steel. Each type of stainless steel reacts differently to heat, with different methods of preventing heat-affected zones (HAZ) when welding stainless steel.
With ferritic stainless, heat will cause the affected areas to become brittle. For martensitic stainless steels, it’ll develop cracking. Austenitic is the most forgiving, but too much heat can still cause your material to lose some of its stainless properties. Regardless of the type of stainless steel, you'll want to manage the heat, keeping the temperature as low as possible.
The first heat management tip is to avoid welding in the same area for too long. If you’re MIG welding, this usually means using as fast a travel speed as possible while still staying in control of your weld puddle. The slower you move, the more heat will build up, creating a larger HAZ. If you’re still learning to control your travel speed, it’s recommended that you ease into stainless steel since it's a lot more expensive than mild steel.
Chill bars are another common solution for managing heat. This usually means using some kind of aluminum or copper backing clamped to your workpiece. You’ll want your backing close enough to your weld spot to suck out the heat but not so close that you’ll accidentally weld your chill bar to your base metal. Aluminum and copper have significantly higher thermal conductivity properties compared to stainless steel, allowing them to pull heat from your weld spot and keep the stainless at a lower temperature.
THE PURGE
Weld purging is a common process where oxygen is evacuated from a pipe, tank, or chamber using a noble gas such as argon or nitrogen. The oxygen in the atmosphere will try to attack the chromium in stainless steel when heated. Since chromium strengthens stainless steel and makes it stainless, protecting chromium from the atmosphere while it’s heated is key.
While purging is a tedious process that most welders avoid if possible, it is essential for welding stainless steel. True, there are cases where you can get away with welding stainless steel without purging, but the overall strength and life of the weld won't be nearly as good. Rather than hope for the best, it's always best to purge when working with stainless steel.
WELD STAINLESS STEEL LIKE A PRO WITH WELDING SUPPLIES FROM IOC
As one of the most durable and rust-resistant metals, stainless steel can do amazing things and has countless applications. Whether you’re utilizing MIG welding or TIG welding, there are many benefits to working with stainless steel. Despite having a reputation for being hard to work with, welding stainless steel can be as easy as welding regular steel, so long as you have the right equipment.
Most problems welders face when welding stainless steel usually come from using the wrong parameters. Still, with a welder for stainless steel like the Millermatic 211, which has an auto-set feature, you don't have to worry about parameters. If you're ready to upgrade, visit Welding Supplies from IOC. We have the widest selection of welding machines, supplies, and accessories to help you tackle any job. Whether you’re a professional welder or a weekend warrior, our selection, competitive pricing, and knowledgeable support team can help you get the job done. Shop for a welding machine today.

