Skip to content

It’s said in order to be a true master of a skill, you must first master the fundamentals. There are books, videos, and entire curriculum that cover MIG welding, but today we’ll be scratching the surface and giving a small glimpse into this process. So listen closely little grasshopper, because with the right tips, you’ll be MIG welding like Mr. Miyagi in no time.
So what is MIG welding?
A lie, that’s what it is. Why? MIG stands for metal inert gas, but nowadays MIG welding usually doesn’t use 100% inert gas. During World War II, MIG was developed using argon gas to help produce weapons and war equipment faster than regular stick welding. To prevent oxidation of the metals during welding, gas was fed through the torch to protect the welding zone. The high cost of argon gas was way too expensive to be cost efficient, and later it was discovered carbon dioxide gas (CO2) could be used as an adequate replacement atmosphere. Eventually there were advances in understanding what various mixtures of CO2, helium, and argon worked best with different kinds of metal. The new name for this welding process was called gas metal arc welding or GMAW. Though GMAW is a better way of explaining this process, the name “MIG” simply stuck and we still use it commonly today.

Be careful you don't have toxic fumes from your weld rising up into your face.
Safety
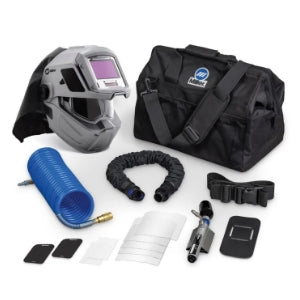
Remember welding safety should always come first, unless you want a nice red “sunburn” without the consequential tan, or to breathe in an assemblage of carbon monoxide at highly toxic levels. Welding safety gear is always essential. Necessary equipment includes welding helmets, gloves, close-toe shoes, and thick, flame-resistant clothing such as denim or leather that can cover exposed skin.
Always work in areas that are well ventilated by OSHA standards and use a respirator when required by the MSDS. Substances on the metal (such as paint) as well as the metal itself can be vaporized while welding, creating toxic smoke and fumes.
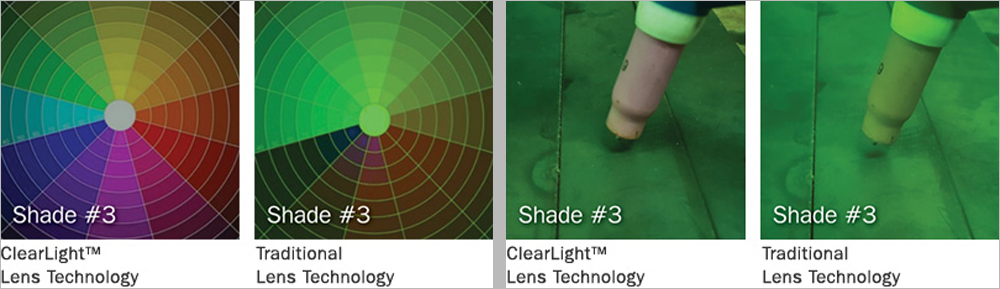
Make sure to protect your eyes against arc eye, a condition caused by bright lights. The cornea of the eye is extremely sensitive to sunburn and UV light, and MIG welding produces a very bright light that’s similar to the light from the sun.
Lastly, never ignore a blown fuse! Unlike overloading your house’s circuit by blasting music, microwaving popcorn, and vacuuming at the same time, a blown fuse on an MIG welder is a warning that something could be hazardously wrong.
Process
When MIG welding, the distance the wire hangs from the welding gun is extremely important. The proper wire distance is ⅜- inches. If too long, the input voltage drops and causes less penetration during the weld. If too short, it’s hard to see where your bead is and you run the risk of damaging your equipment.

Before doing the actual welding, you should first practice running a bead on a piece of scrap metal. This’ll allow you to get a feel for the process and figure out what power settings and wire speed you want to use. Too fast wire speeds can produce too much metal and create a globy consistency, but too slow wire speeds or low power settings can cause the metal to come out in splats and will not form proper welds.
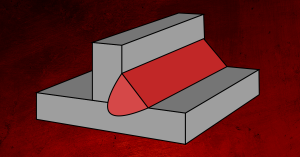
A good weld should be nice and smooth, without any porous craters or discoloration, and oftentimes resembles a stack of dimes. While welding there should be a nice crackling noise, similar to the delicious sounds of sizzling of bacon (coincidence? We think not!).
Remember to practice, practice, practice! With patience and determination, anyone can learn how to MIG weld right in their home garage. Mastering the fundamentals will give you an easy leg up to eventually become a master welder.
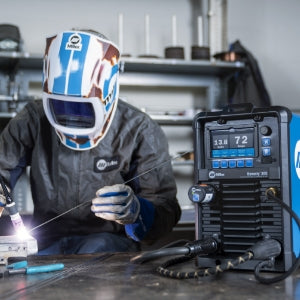
If you’re in the market to find a good beginner MIG welder, we suggest the Millermatic 211. The Millermatic 211 automatically sets your welder to the proper parameters, so you don’t have to do any guesswork. Just set the material type, gas type, wire diameter, and the material thickness. The welder will adjust to your needs. Check out the Millermatic 211 with the button below.