Skip to content

You could read every single guide on the internet about MIG welding but still have no idea how to turn the machine on. That’s because very few articles cover the exact steps you should take. The unfortunate truth is that this often causes knowledge gaps, forcing beginner welders to “improvise.” It’s like being at the gym on the day after New Year’s: lots of motivation, no idea how to use the equipment.
Even experienced welders can often discover they’ve been welding incorrectly for years. So if you don’t want to be the welder who realizes after a decade of experience that you’ve been doing it wrong all along, this exact step-by-step guide is for you.
Preparation:
All the safety equipment required for welding could be an article by itself. To keep this post simple and easy to follow, we’re only going to cover the very basics. The most important thing to know is that welding produces UV rays, molten sparks and slag. Anything that’s not properly covered is at risk of getting burned.
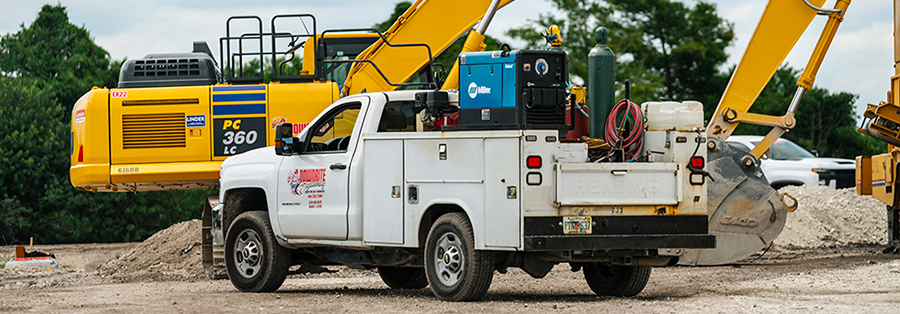
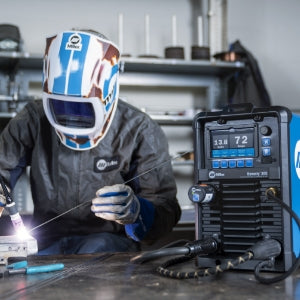
As for your MIG machine, if you haven’t already purchased one, we’d recommend the Millermatic 211 or the Lincoln Power MIG 215. Since this guide is covering MIG welding and not flux core, you’ll also need gas cylinders. Most welders use CO2, Argon or a mixture of the two for their shielding gas. CO2 is the cheapest, so it’s often the starting point for many beginner welders. (though a CO2/Argon blend generally produces better arc quality)
Since every machine is different, check your user manual on how to connect your shielding gas hose to your MIG machine.

You’ll also need to clean off your weld piece before you begin. Since you’re a beginner, it’s best to clean off the entire piece so there’s no rust or paint that can cause issues.
Connecting Your Ground Clamp
MIG welding essentially works by creating an electrical arc through your workpiece. In order to complete the circuit, you need to connect your ground clamp (also sometimes called “earth clamp” or “work clamp”) to the piece you are welding. You can connect it to your workbench if it’s metal, but that’s more advanced than we’re covering here. Often with MIG, you’re going to use reverse polarity, so the other end of the ground clamp will attach to the negative terminal of your welding machine. The terminals are generally marked with a minus symbol for negative and a plus symbol for positive.

Every machine is a little bit different, so make sure to check your user manual. Some MIG machines will come with the leads already connected, while others won’t. Your manual will also show you how to connect your positive terminal so it completes the circuit through your MIG gun. If for some reason you need to use straight polarity, you can reverse these connections.
Turning On Your Machine
Hopefully you’ve done a little bit of research beforehand to check and make sure your MIG machine works with the power source you’re trying to plug it into. For more information on that, check out our in-depth guide here.
Before you can begin welding, you’ll need to double-check that:
- Your leads are connected correctly.
- Your shielding gas is connected correctly.
- Your MIG gun is connected correctly.
- Your wire is threaded into your MIG gun correctly.
Again, since every brand does these steps differently, you’ll need to reference your machine’s user manual for specific details on any of the above points.
Now comes the moment of truth. Usually, a single switch will turn on your MIG machine. Many modern MIG machines will give you a warning if something is connected incorrectly. Again, reference your user manual for any troubleshooting or more details.
The Most Important Part
Getting the right settings is often the most important part of welding. This is because the wrong settings will often result in low-quality welds, no matter what you do during the rest of the process. Sometimes, even experienced welders will use sub-optimal settings without realizing the effect it’s having on their welding.

To find the right settings, you’re going to write down your material thickness and wire diameter. If you have a MIG machine with an auto-set feature (such as the Millermatic 211), you can punch those numbers in directly and the machine will do the rest of the work for you. With non-auto-set machines, you’ll need to use the reference chart. This is usually printed on some part of the cover and will show you the right settings to use based on your material thickness and wire diameter.
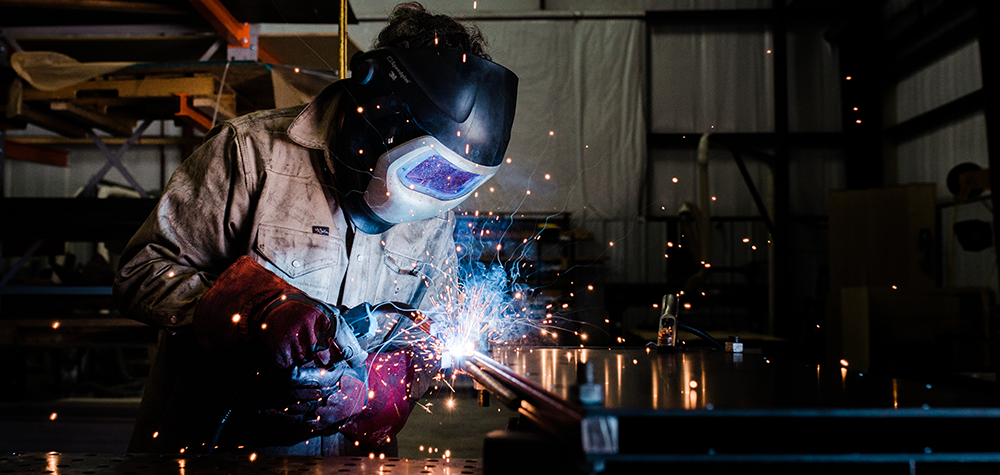
Technique
With MIG welding, the first thing to practice with your actual technique is the distance you hold the tip of your MIG gun to your workpiece. In most situations, you’ll want about ⅜” to ½” of wire sticking out of the tip of your gun before it contacts your workpiece. This gives you adequate shielding gas without the chance of welding your MIG gun tip to the workpiece (or the wire to the tip).
Second are the two angles. Your “work angle” is the angle which you hold your MIG gun compared to your workpiece. For instance, if you’re welding a T-joint, you’ll generally position your gun about 45 degrees compared to your workpiece in order to fit within the corner.

The other angle you have to pay attention to is your travel angle. That’s the angle you hold your MIG gun compared to the direction you’re traveling. For most beginners, you generally want your travel angle to be between 10 degrees pushing or 10 degrees dragging. Which one is best is a hotly debated topic that you can read about here.

The final part of your technique is your travel speed and manipulation. If you move your MIG gun too quickly along your path, you’ll produce a thin bead that has very little penetration. On the other hand, if you’re too slow, your beads will be extra wide and can burn through your material.
Some welders prefer to manipulate their weld pool as they move along, doing patterns such as a zig-zag, curly Qs, etc. These patterns can help you get better coverage, but to start off, it’s often recommended to just stick with a straight motion until you’re comfortable with your distance, angles and travel speed.
With these exact steps, you can go from never having turned on a welding machine to your first quality welds.
Final Few Tips
Before you pull the trigger, practice a few dry runs to get your distance, angles and speed down. There’s no point in mucking up your material if you’re still trying to get the motions down. Even professionals in most sports do a few practice swings beforehand.
As a beginner, you can often just use the recommended settings from your reference chart or your machine’s auto-set feature (if it has one). As you improve, you can learn more about fine-tuning your settings. The only caveat to this is if you’re using a cheap welding machine from some unknown brand. These machines are notorious for their inaccurate settings, which can be incredibly frustrating.
For the best place to get all your MIG equipment and consumables, Welding Supplies from IOC has the best prices, unrivaled customer service and brands you can rely on. Check out our full range of MIG machines here, like the Lincoln Power Mig 220 AC/DC Welder.